How to use NetBeans for COMP 2402
 Download and install the latest version of NetBeans. For this course, the basic Java SE version is perfect.
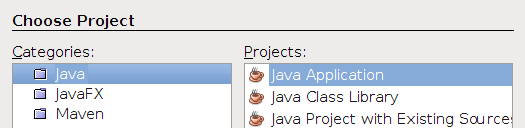
- Run NetBeans and create a new Java project.
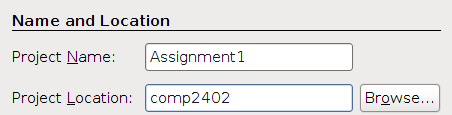
- Call it "Assignment1" and place it in the folder you use for the course.
- Do not create a main class. We will use the ones in the assignment source.
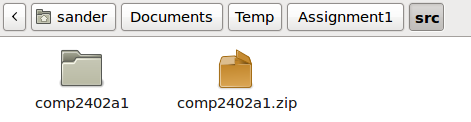
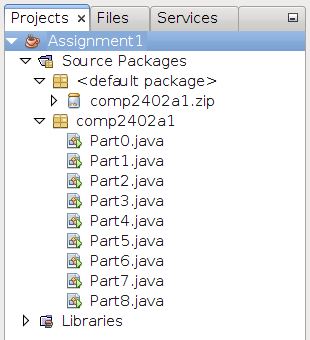
- Download the source code for the assignment and extract it to
Assignment1/src.
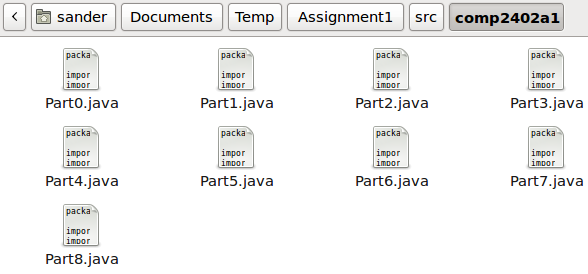
- The new files should automatically appear in NetBeans.
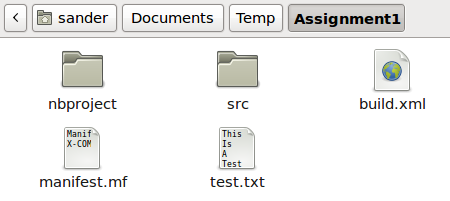
- Create a test file called
test.txt and place it in the Assignment1 directory.
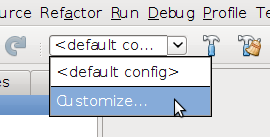
- In the toolbar, expand the drop-down menu that says "<default config>" and choose "Customize...".
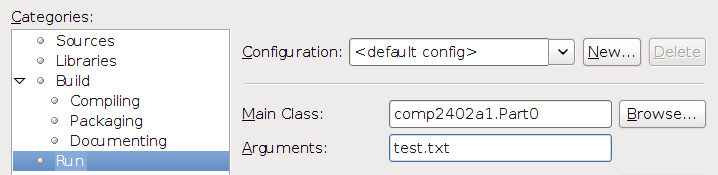
- Change the main class to the class you want to run (we'll pick
Part0 here) and enter test.txt for the argument.
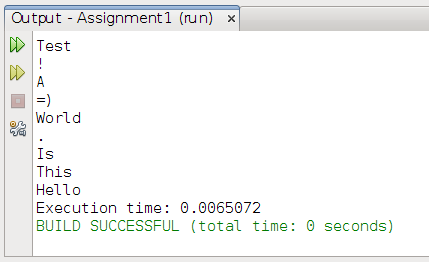
- Run the project (from the toolbar or by pressing F6). The output should appear.
- You're good to go!
Copyright © 2013 Sander Verdonschot
 The text of this tutorial is licensed under a Creative Commons Attribution 3.0 Unported License.
The arrow icon was created by VisualPharm, used under a Creative Commons BY-ND 3.0 license.